02-Create-a-simple-book
Introduction This module explains how to create a simple book in a collection that has already been created.
Where are we now? Before you can create a book in Bloom, the program must be installed on your computer and a collection must be created. If this has not been done, see Appendix X for instructions on installing Bloom and creating collections.
Why is it important? Books in Bloom are stored in a collection. A collection can also contain templates to use when creating a new book. All books are created, edited and published in the same way. The simple book is the simplest type of book, so it is the best way to start learning Bloom.
What will you do?
- You start Bloom and use a vernacular collection. - You will then create and edit a book from the Simple Book template. - Once the editing is complete, you will publish the book as a PDF.
2.1 Starting Bloom
- Double click on the Bloom icon on the desktop OR
- (From the Start menu, choose Bloom) When Bloom is first opened, your Collection will be empty.
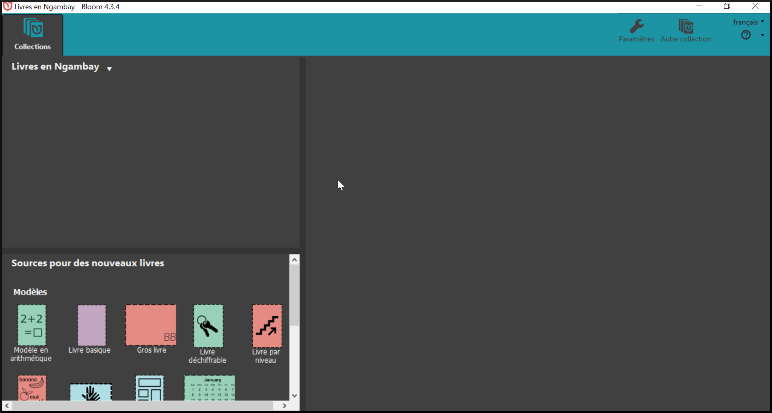
In the main window, under the Collections icon, you have the name of the collection and a list of all the books in that collection. You have several predefined templates in the Sources pane for new books.
2.2 [1] Choose Collection

The first step is to make sure you have the right collection open. Most of your work will be done in the collection for your language. If necessary, you can change it now. See 3.1 Collection for how to do this.
2.3 Creating a book based on Basic Book
In the Sources for New Books pane, click Basic Book.
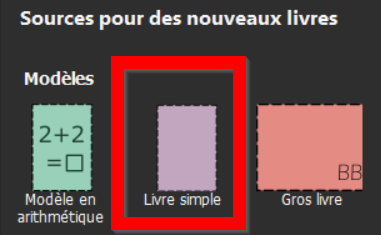
Click on the Create a book from this source button.

_Bloom adds a new book of this template to the book collection and opens it in the “Edit” tab. There are six pages already created_.

_It opens on the_ _**Outer cover**_ _page_.
:::info Note that the book appears in the **Edit** tab. The left pane is called Pages. It shows the pages that are in your book. The highlighted page in the **Pages** pane is displayed in the centre. :::
2.4 [2] Editing the Book

Now that the book has been created, you can edit it.
Edit book - cover Edit the cover as follows:
- Make sure the cover page is displayed.
- If necessary, click on the page on the left.
- The top text box should contain the title of the book.
- Type the title in language.
- Click on the Change Image icon in the image box
![]()
- Click on Image galleries.
- To search for an image, type a word and press Enter.

The images found are displayed.
Select an image.
Click on OK.
Change the title page as desired.
For details, see 3.4 pictures.
Edit the book - add a page
- Click on the previous page icon. (i.e. where you want to place the new page).
Click on “+ Add Page”.

The Add Page dialog box appears, displaying the templates you can use to add more pages to your book.

- Select Basic Text & Illustration.
- Click on Add a page. The new page is displayed.
Edit book - add image
- Click on the Change Image icon in the image frame.
- Click on the Change Image icon in the image frame
![]()
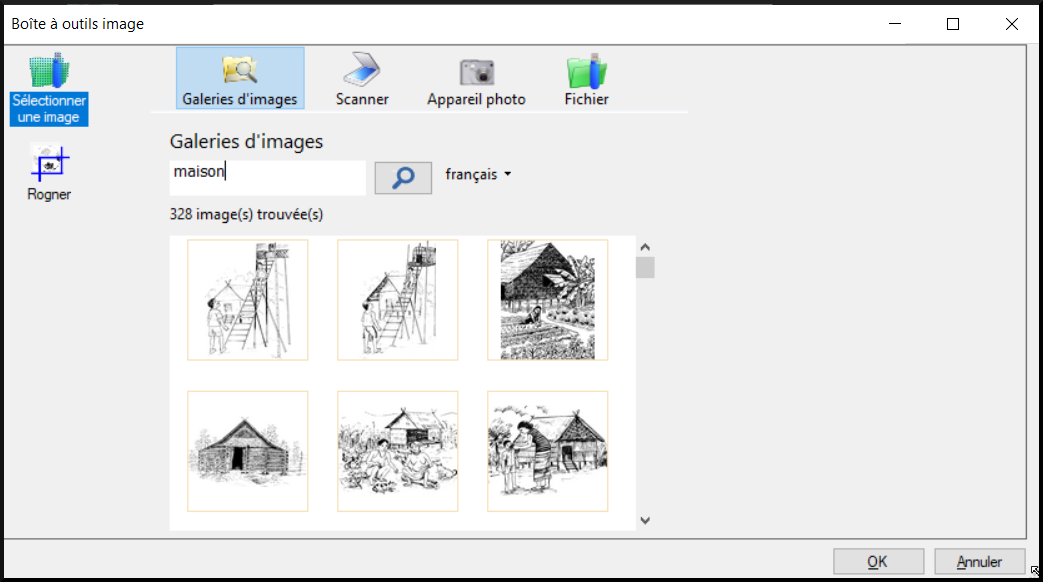
- Click on Image galleries.

To search for an image, type in a word (e.g. house) and press Enter.

_Results are displayed_
Click on an image
Click on OK.
For details, see 3.4 pictures.
Edit book - add text - Click on the text box. - Enter the text.
For details see [3.3 text](/bloomtraining/next/03-More-information#33)
Edit Book - Copyright Page
- Click on the credits page (at the bottom of the page).
- Click on the credits page (left).

The credits page appears
Click on the blue link

Type in the copyright information.
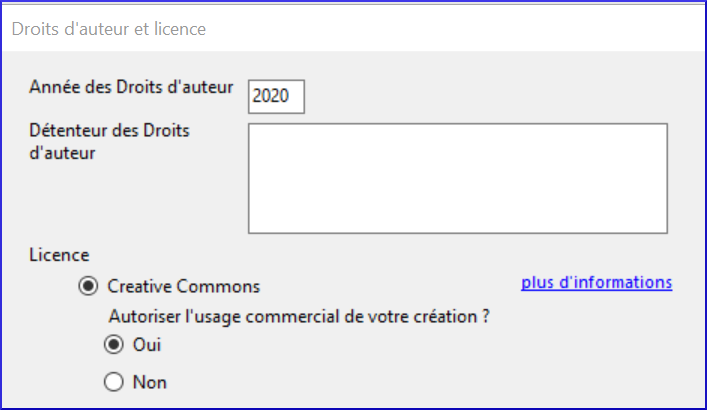
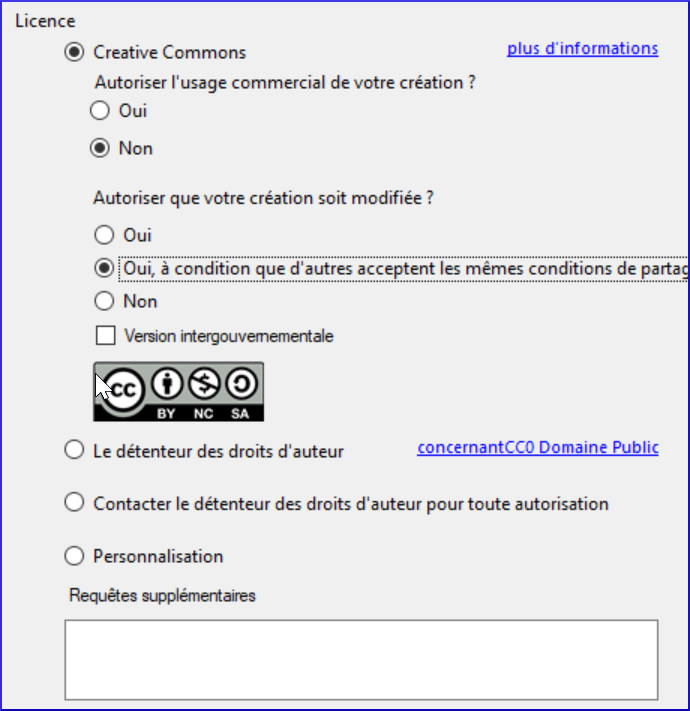
- Choose the license, for example BY-NC-SA
- Click OK.
2.5 [3] Publish a book

Now we are ready to publish this book by creating a PDF file that can be printed or taken to another computer for printing.
Publish Book - PDF
- Click on the Publish Book - PDF button.
- Click on the Publish button in the top left bar

- Click on the word Options to check the paper size
- If the paper size is different from the book size, choose the paper size.
- Choose one of the six options (left)

The book is displayed in the centre.
First, choose Simple to read the book one page at a time in order. Then choose “Inside Booklet”.
Publish Book
- Check and Make Corrections
- Check the book.
- If you find any errors, click on the Edit tab and make corrections.
Publish Book - Publish Again
- Click on the Publish tab.
- Choose the desired option again (simple at first then inside then cover).
- Check the book again.
- When the book is correct,
- Save the PDF (see above).
Publish book - Save PDF.
- Click on Save PDF on the toolbar .
![]()
- Confirm the file name and folder.
- Click Save.
- If necessary, repeat for another option. (e.g. cover or interior)
- Go to the folder where you saved the PDF file.
Publish the book - Print the PDF
If you have a printer connected, you can print the book directly on your printer
If necessary, click on the Publish tab.
Choose one of the six options (on the left).
Click on Print.

_A message is displayed_.

After reading the message, click OK to close the message.
Follow the instructions. I.e. paper size (not booklet size) in landscape on A4 paper.
If necessary, repeat for the next option.