18. Compare Text
Introduction
In this module, you will learn how to save your text at various points and review them later.
Before you start
You have worked on your text and you have arrived at an important stage of your project.
Why is this important?
As you work on your translation, you will be continually making changes. It is good to have a copy of your text as it was at a particular point, for example as it was before you went to a consultant check.
What will you do?
You will mark a point in the history of the project. Later you can compare the text at different points.
18.1 Mark Point in History
- Click in your project window to make it active (in Paratext).
- ≡ Tab under Project > Mark a point in project history
- Type a comment to describe the point.
- Click OK
- The point is added to the project history list.
It is good to start the comment with some symbols, like ##, to easily identify the points you have added in the long list of automatic points that Paratext creates.
18.2 Compare Two Versions
Paratext compares the two versions and marks any text that has been deleted or added.
The default display style is to mark any text that has been deleted in red. And any text that has been added in green.
There are two other style choices Underline/Strikethrough or Underline/Superscript).
- ≡ Tab expand the menus then under Project > Compare Versions
- Click on the base version dropdown list
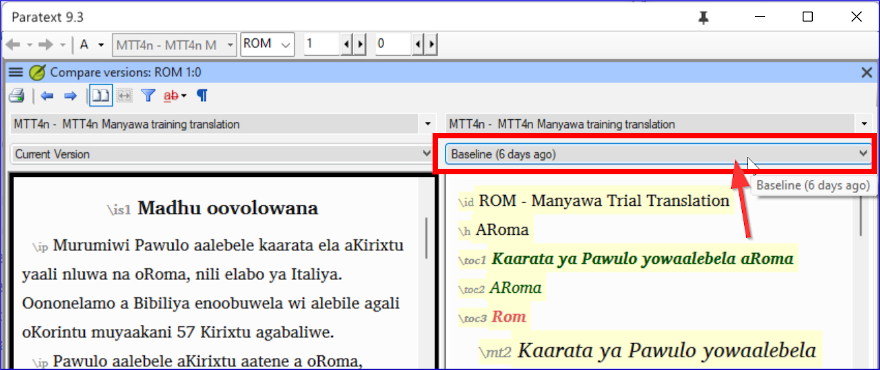
- A list of versions is displayed.
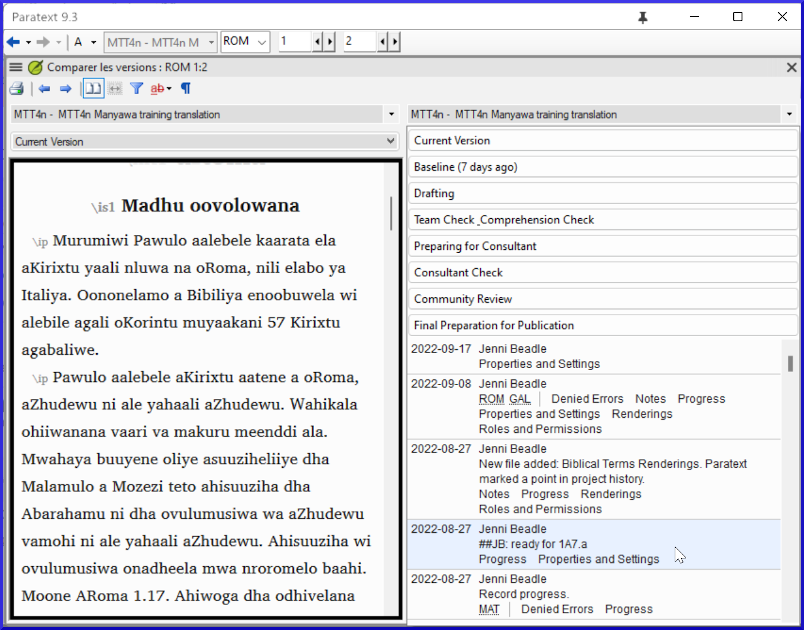
- A list of versions is displayed.
- Choose the desired point in the history
- The screen shows the differences.
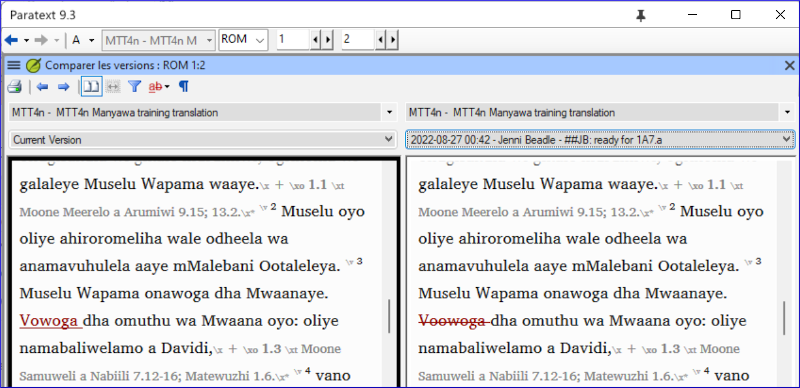
- The screen shows the differences.